Front Yard Shrubbery Bed

After replacing and moving almost every plant in our yard since moving in, I am finally getting around to changing out the shrubs right in front of our house.  The previous homeowners had planted six privet bushes in two clumped arrangements with a Loropetalum in the middle.  It has been a constant battle to keep these under control, considering they are in front of windows that are only 2 feet off the ground.

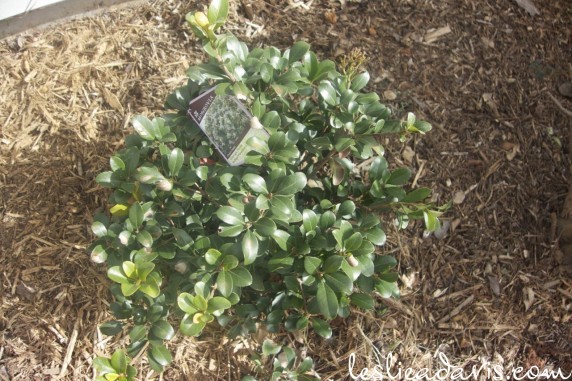
My mom suggested Indian Hawthornes for this area, so that is where I started my search.  A Pike Nursery employee told me about a variety that was developed at UGA called Georgia Petite.  It grows to 2.5 feet high by 3.5 feet wide in a mounding form.  I was sold, but the problem is that all of the nurseries remotely close to us are unable to get them in stock.  I found two 1-gallon shrubs at the Roswell Pike, but I will need three more.

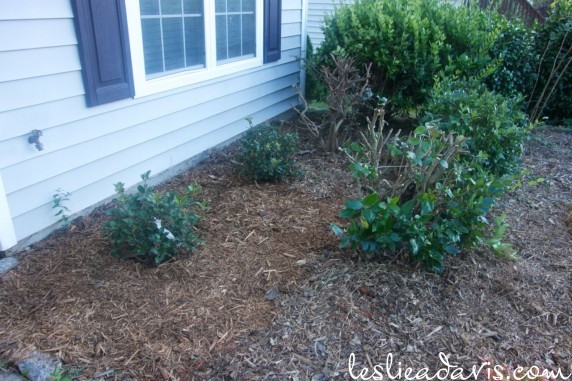
We brutally cut back the shrubs in the bed, and I pulled out two of the privets to make room for the new Georgia Petites.  I put in some new garden soil while I was at it, so hopefully they will be happy.  Our front shrub bed looks somewhat of a hot mess at the moment, but eventually I think it will be beautiful and easy to maintain.
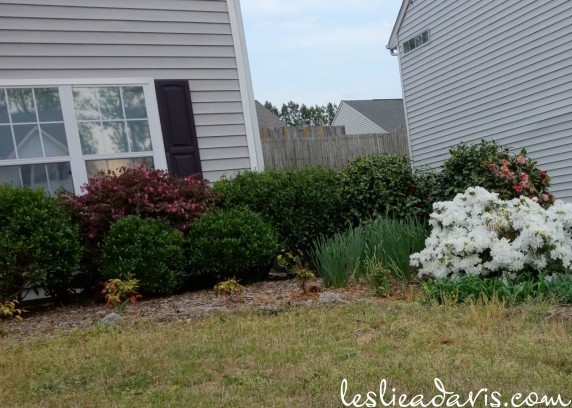
Here is the best picture I could find of what the shrubs looked like in the spring, before we manhandled them with shears.  Standing down at the street, the shrubs covered the lower half of the windows and had grown together in a tangled mess.
Lighting Upgrades

After we moved in six years ago, I began making changes to the house that would update things a little without spending much money.  Round two of changing things has included spending a little more money to get things that I really like.  I’ve done a lot of this type of upgrading in the living room with a new chair, rug, lamps and tables.

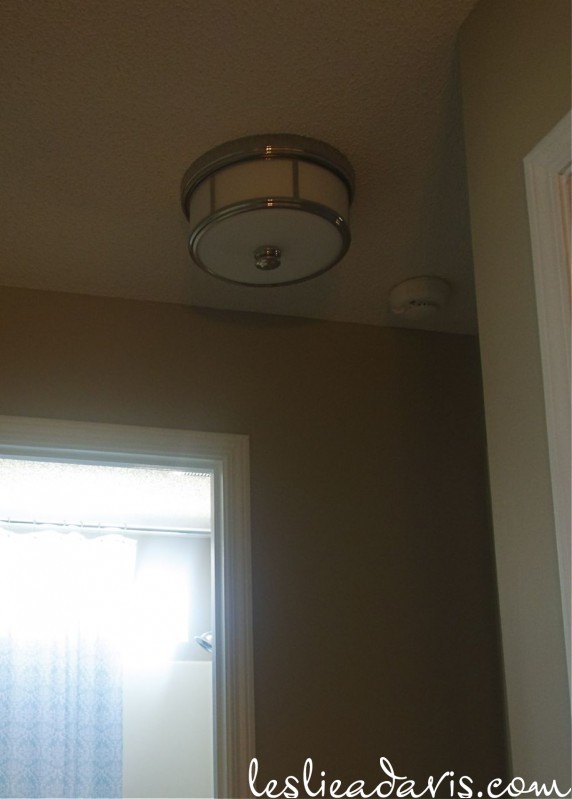
Most recently, I have gotten a few new lights.  Bradley has installed them all for me without any grief.  I purchased two flush-mount lights that I have had my eye on for a while for the upstairs and downstairs hallways.

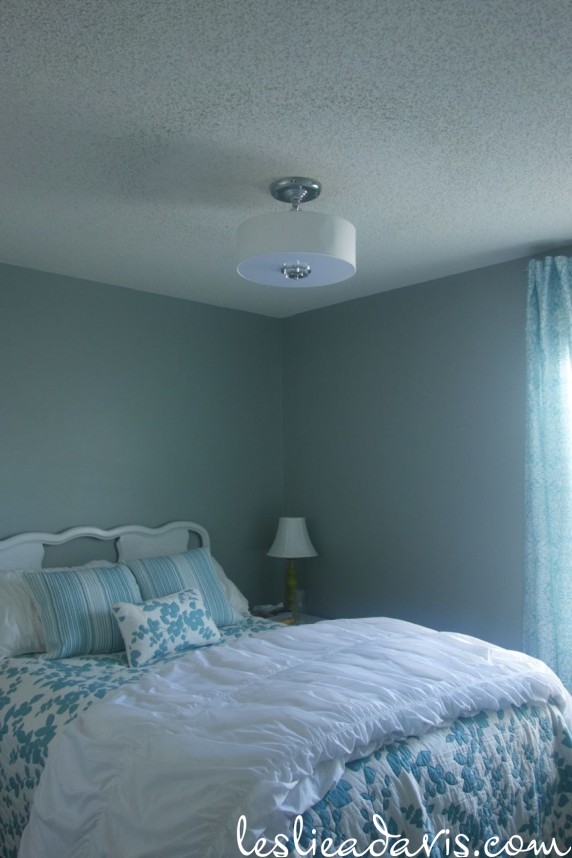
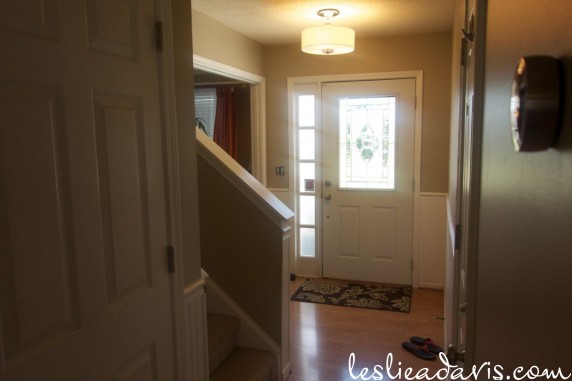
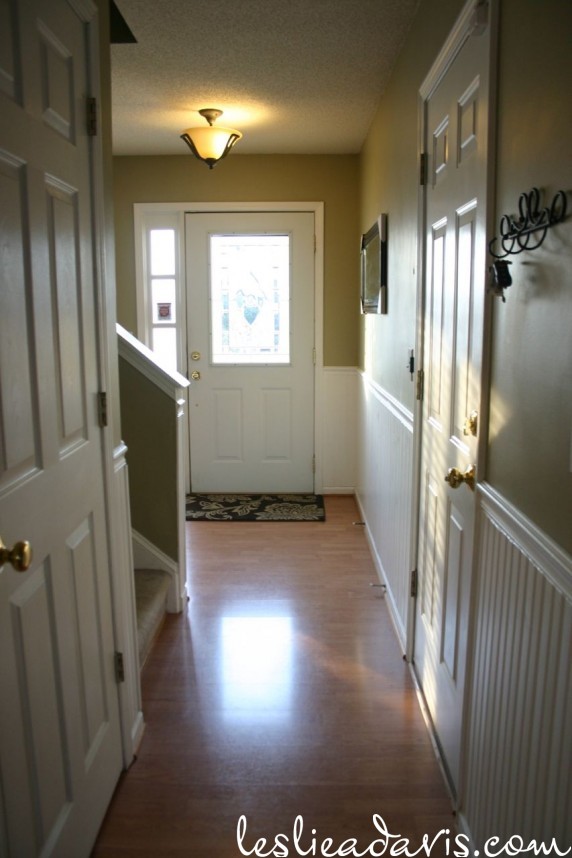
In the foyer and guest bedroom, I chose semi-flush mount lights with touches of crystal.  Based on the lamps I got for the living room and the teardrop mini chandelier in our bedroom, I guess I can officially call myself a fan of the updated crystal/chrome mix.

Help around the house

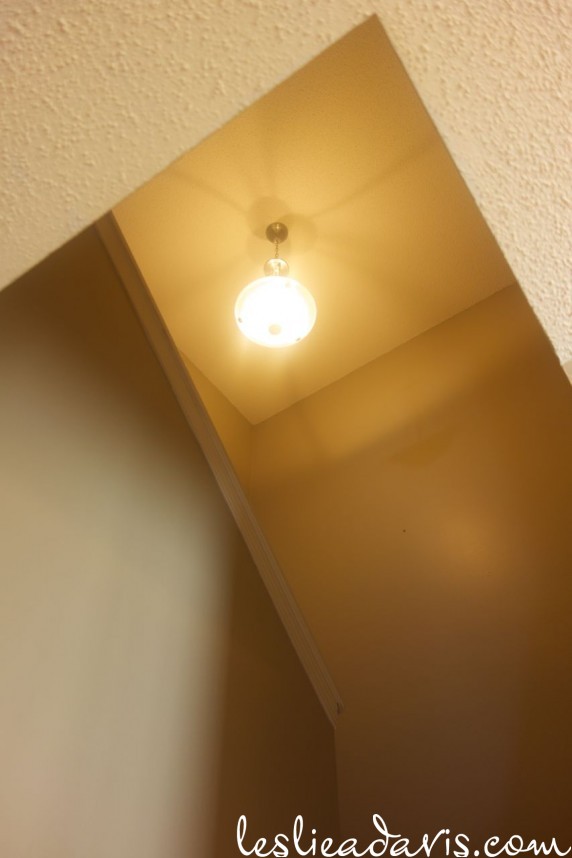
We finally got around to hiring some help for a few house projects.  All included projects high up off the ground that we A) don’t have a ladder to get to and B) don’t have a desire to do ourselves.  Years ago, I purchased a pre-owned light fixture to replace the gold and glass stairwell light.  It wasn’t anything special – this isn’t our forever home – but it was a step in the right direction.  Until now, it had been collecting dust on top of the cabinet in our laundry room.  I had a hard time photographing it.


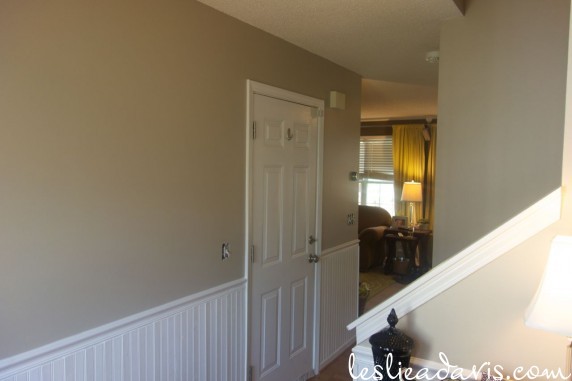
Last year, I started patching all the dings and settling cracks throughout the hallways and stairwell.  The paint color in these areas was the last remaining one from previous homeowners.  We bought paint from Sherwin Williams color-matched to the Toasty Grey color I had used in our spare bathrooms and laundry room.

Here is a picture of the color before.  It was more of a greenish khaki:

Finally, a couple of pieces of decorative trim from the highest gable on the front of our house had come off during some fierce winds a couple of years ago.  Bradley’s dad had brought his extension ladder over and put it back up for us last year, but when another storm came through, it popped right back off.  Hopefully it is fully secured up there now.

Counter Stools

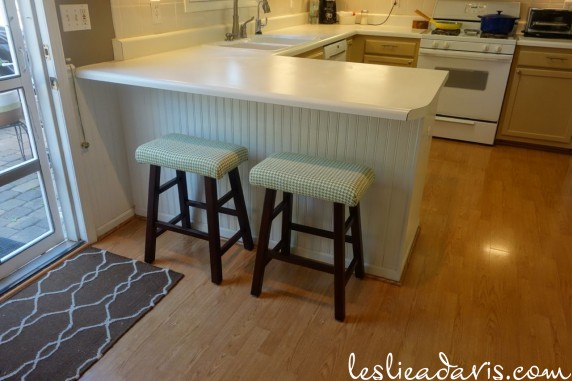
Since we have gotten Buddy, we are opening and closing the back door a lot.  It has always bothered me that the door swings open right next to the breakfast counter, banging the backs of the counter stools and forcing me to shift them as far to the right as possible.  Now it has become too much.  I decided to search for new, backless counter stools that could be tucked up under the counter overhang, out of the way of the swinging door.

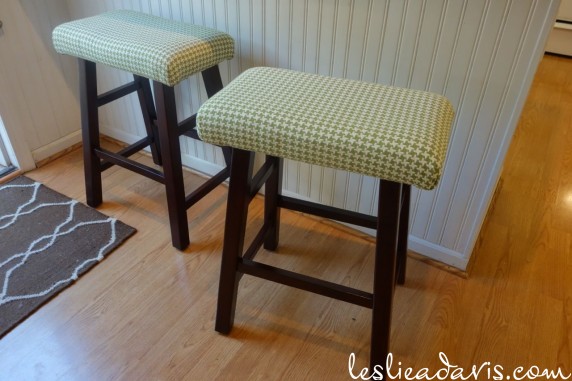
I ended up buying these stools on Amazon.  I knew I wanted to use the green houndstooth fabric from the old stools on the new ones, so I didn’t worry about what the seats look like.  Luckily, I had saved the fabric from the old stool seats to recover them for resale.  The new stools have a wider seat than the old, so I had to work to get the fabric stretched just enough to get them covered.

To me, they seem to look a little dwarfed under there, like they would be too short.  They are a couple of inches shorter than the old stools, but they are actually the right height for sitting at the counter.

Here is what the old stools looked like in the space (before being recovered).  Maybe the scale of the old ones looks better, but the function of the new ones is so much better.

Homemade Cutting Board Oil

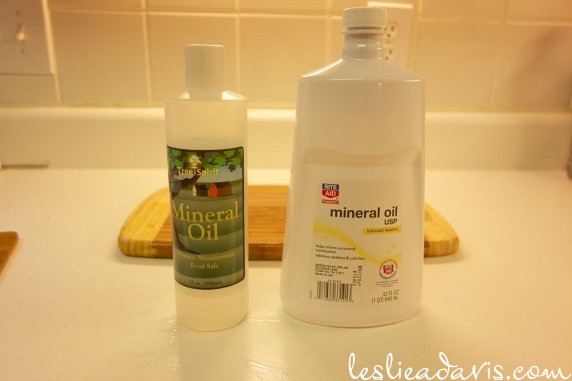
After finding a version of homemade diffuser oil that calls for mineral oil found at the drug store, I had a light bulb go off in my head.  We have several bamboo cutting boards that I use mineral oil on from time to time.  The bottle I have is from Bed, Bath, and Beyond’s kitchen section.  I wondered if I had paid a premium for essentially the same thing – it is $0.75/oz at BB&B compared to $0.28/oz at the drug store.  After a little research, everything I read said that the mineral oil from the laxative section is the same as that from the kitchen section.  So yes, I had paid a premium originally, but not anymore.

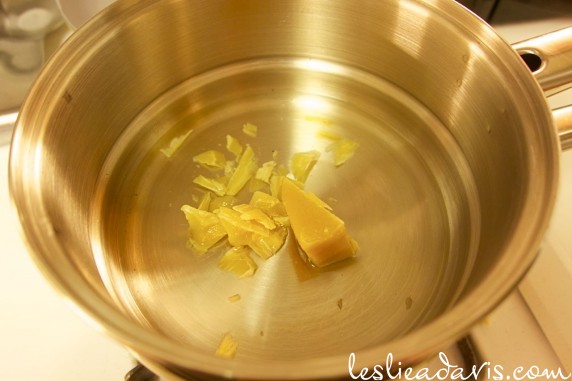
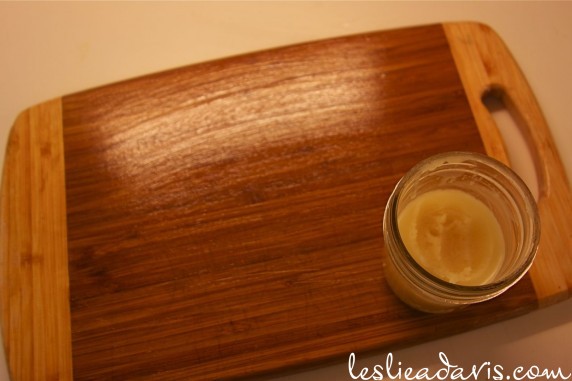
I also read a couple of recommendations to add a little beeswax to the mineral oil to give the cutting boards a little more protection.  The ratio I saw was 80% mineral oil/20% beeswax.  I had some beeswax left over from other homemade concoctions, so I tossed some in my double boiler with the mineral oil.  Once it was melted, I transferred the mixture to a mason jar.  It solidified somewhat, but it is still the consistency of room-temperature butter.  I was reminded of a product I saw at Cook’s Warehouse called Bee’s Oil that I had considered buying.  Now I’m glad I didn’t.