Fresher and Younger

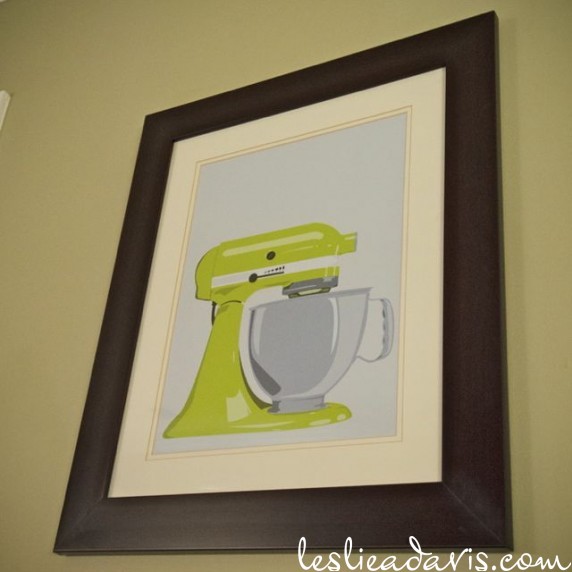
I posted last about the changes I made in the powder room to make it feel younger and fresher.  I also changed out the art in the kitchen for the same reason.  I originally had a print up that I have had since college – one of those knock-offs of a famous piece of art that comes from a discount home decor store.  I found my new art print from an Etsy seller in England.  I like the fun color and light-hearted take on a prized small appliance.  I may try to spruce up the mat surrounding the print – I reused the mat from the original art print and it looks kind of dingy next to the new print.

For comparison of style, here is what was originally up there:

Powder Room Update

Recently, I have been looking around and realizing there are areas that I ‘decorated’ when we moved in with things that I had bought on the cheap in college or were given to us and aren’t really our style.  Too many areas were looking a little too ‘Kirklands’ to me.  Despite the dark mocha wall colors we chose or the hand-me-down couches we sport in the living room, I don’t dig the metal/floral/glazed look.  I want our house to be fresh even while using dark-stained woods and chocolate colors.

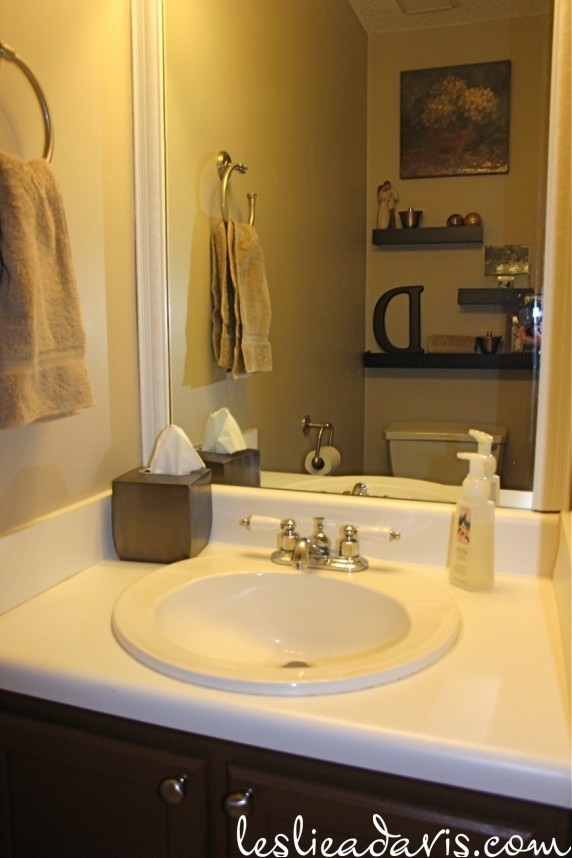
Here is what it looked like before:

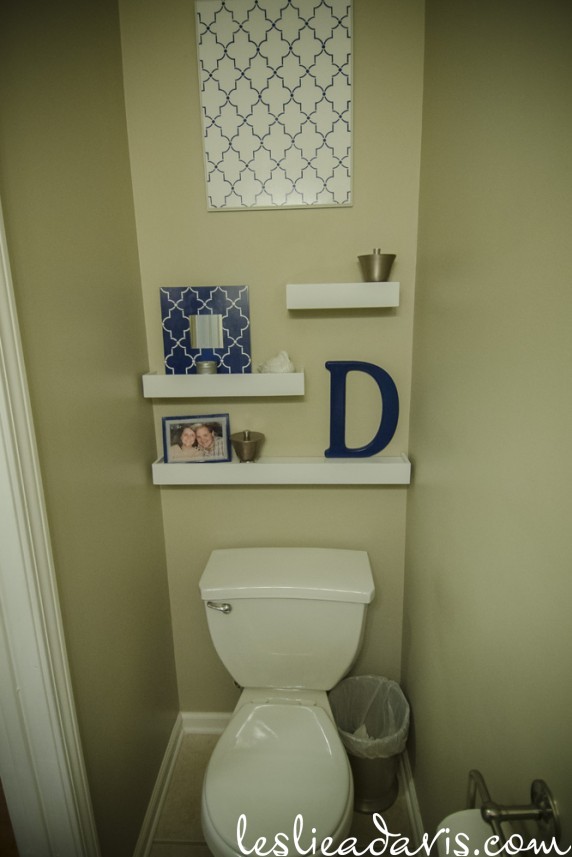
I decided to pull down the shelves and art that were over the toilet and see it with fresh eyes.  In an effort to make the changes without spending anything, I painted the shelves white and painted an old picture white with a stenciled Moroccan tile pattern in blue.  I did the reverse white on blue stencil pattern on the small Ikea mirror.  I ditched the Willow Tree figurine (a gift) and some gold capiz and glass orbs.  The ‘D’ went blue as well as the picture frame.  I left the little jars because I use them for hair clips, but I reserve the right to take them out as the room develops.  I added a white ceramic duck that I got at a consignment shop last year.  (The photo is a little off on the wall color – this is the only room in our house with no window and it is small, so the artificial light is not bright in here)

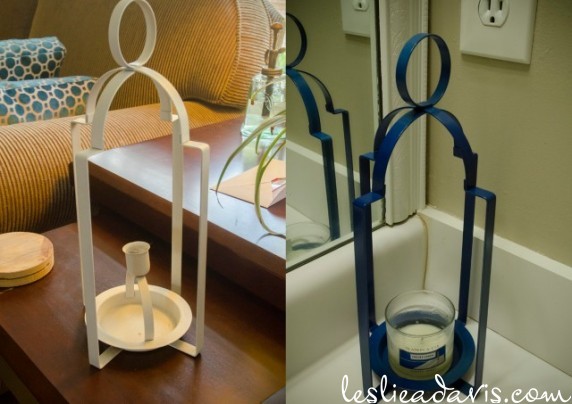
I still need to fill out the shelves, but I will be patient for the right things to come along.  The last update I made was a fun new candle holder on the vanity.  I found a set of three metal lanterns at Goodwill years ago.  They were bright red, so I had primed them, but never figured out what to do with them.  I took one and knocked out the taper holder and painted it blue.  I thought the shape went nicely with the stencil shape I used for the art.  Just a lucky accident that the candle label matches the blue I used in the room.  I originally thought I would use a navy blue in the room, but when I was at Lowe’s this Deep Sea Diving color by Valspar just jumped out at me.

Here is the before and after:


New Bedroom Chair

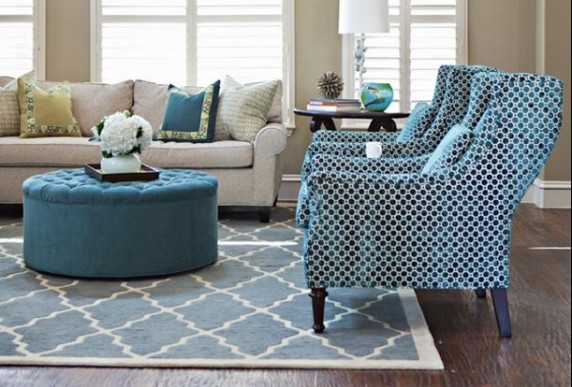
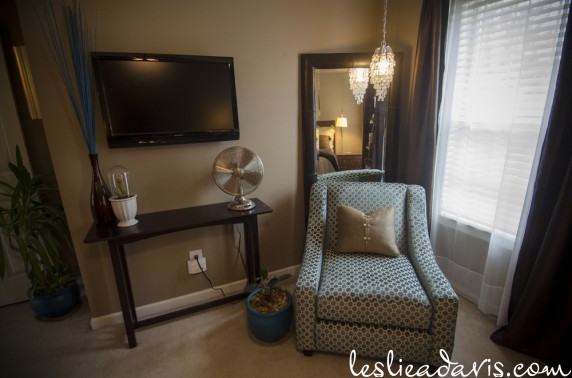
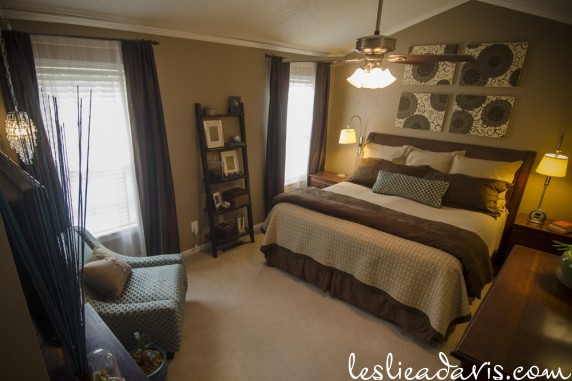
Our bedroom has had an empty corner since June of last year when I hung a mini crystal teardrop chandelier, that I still love, and it highlighted how short the mid-century ‘makeover’ chair was, leading me to remove it.  I have had several inspiration pictures of what style/color chair I wanted for this corner, and I’ve just been waiting on the right one to come along.  The accent color I have been working with is a peacock blue/turquoise, so I was dreaming of a turquoise velvet wing-back-ish chair.

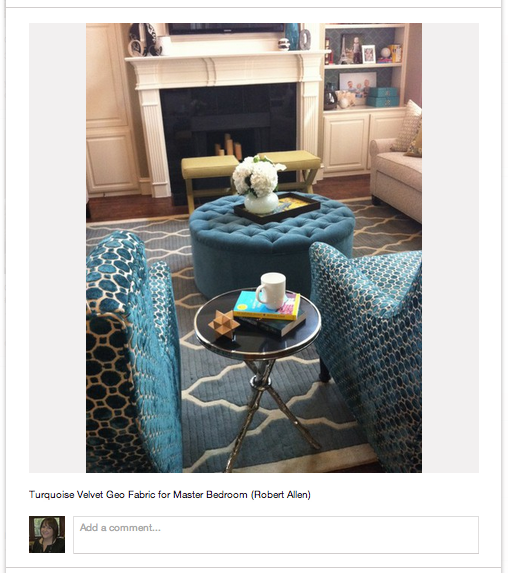
Last fall, I found an inspiration picture for some fabric to use for a lumbar pillow on our bed.  The designer had two chairs covered in Robert Allen’s Velvet Geo Turquoise fabric.  I knew I could never afford a custom chair in the fabric, but I could get a pillow out of it.

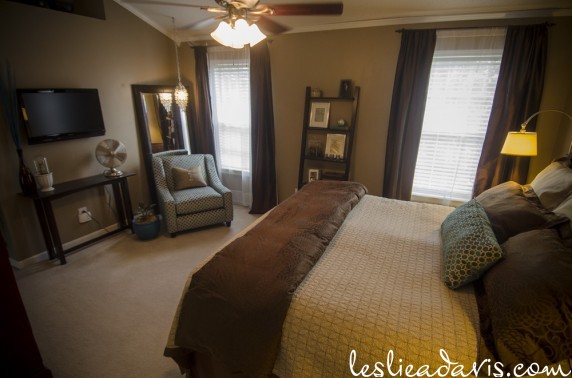
(Here is another view of the same room)

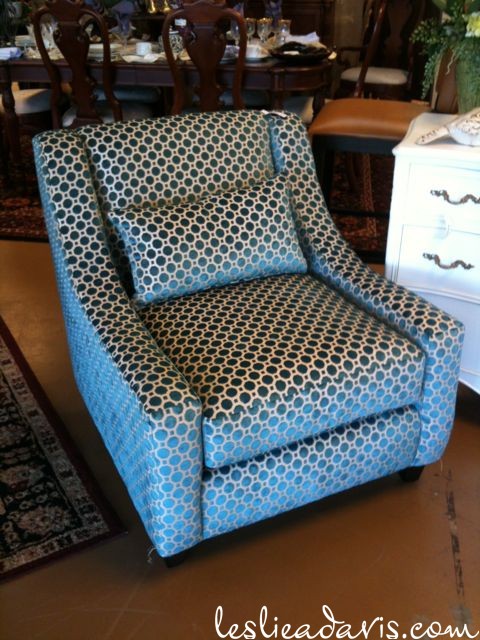
I was checking in at a furniture consignment shop near work and to my surprise, there was a chair in this exact fabric.  The shape is a little different from the inspiration, but still our style.  The only thing I would change is the back height, another 6″ would be great.   But this felt like a stars-lined-up kind of find, so I talked to Bradley about it and he really liked the picture, so I went for it.

Here it is in the bedroom:

 *I try to always link the pictures in my posts to the original source.  If you
would 
like to link to any source, simply click on the picture in my posts.  If
you would like to 
pin a linked picture, please pin from the original source *

In Case of Emergency

I have finally gotten around to photographing the emergency kit I put together this past year.  I blogged about my car emergency kits here.  I’m sure it’s not exhaustive or as much as recommended by FEMA, but it is more than I had prepared for before.  I went through several blog posts about emergency preparedness (see them on my pinboard) and pulled together a list of what I thought would be right for just the two of us (no kids) in our area of the country.

Emergency Kit List (PDF)

I have not pulled together my important documents folder, so that is next on my agenda.  I went ahead and put together two backpacks of items that can be carried if for some reason we needed to evacuate our home on foot.  It has our immediate needs like snacks, toiletries, some first aid items, flashlights/batteries, blankets and a set of clothing.  I like these Jansport backpacks because they have straps that clip around your waist and chest to steady and support them on your back, as well as two water bottle pouches on the side of each one (I used one while hiking around at Yosemite and it worked out great).
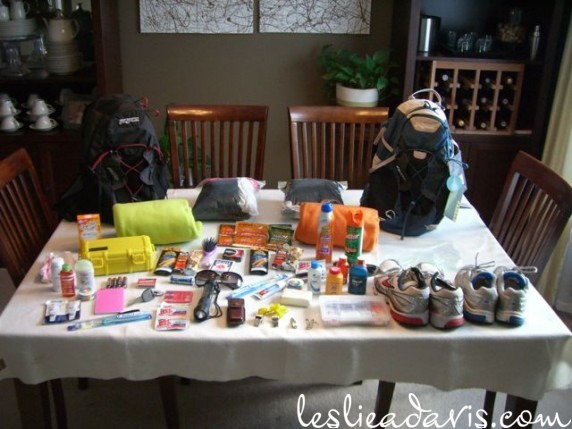
In case of an emergency evacuation in which we would take our car, in addition to the backpacks and the car emergency kit, I have two totes packed up with essentials that would provide for a longer time than the supply in our backpacks.  Things like: water, water filters, food, tools, pet food/carrier, wipes, first aid, sleeping bags and tarps.


Here it is all packed up:
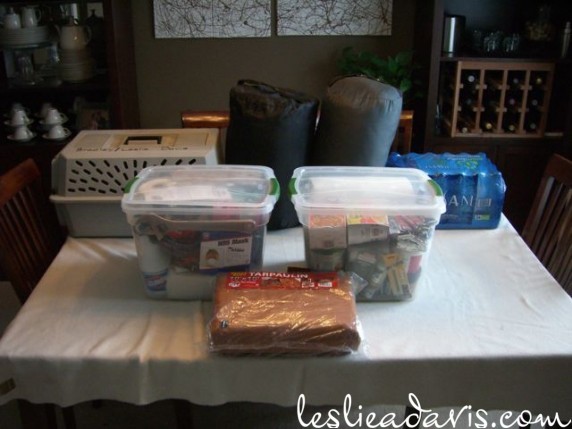
I am able to fit all of this on one shelf of our large downstairs closet.  The backpacks are on the next shelf down, and our jackets and shoes are also in the closet, just not in the packs.  My intention is that this will never have to be used, but like my mom always taught us, it’s good to be prepared!
 

Sprucing Up the Thuja Greens

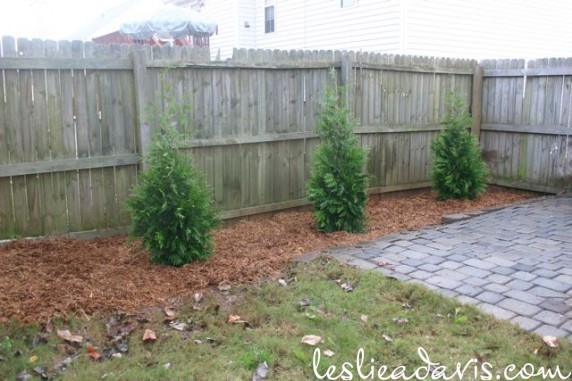
I decided to finally tackle a project in the yard that has been on my list for a while – sprucing up the bed next to our patio where our Thuja Greens live.  I am so glad the previous homeowners replaced the original small concrete slab with a larger area of prettier paving stones, but the side closest to the fence sort of dropped off and the pavers on the edge were caving a little.  I don’t know if that is the way it was when they built it, or if over time the soil eroded away.  When we planted the Thujas, we didn’t add any soil or put down a weed-blocking fabric.  I decided to remedy all of these problems a few weeks ago.  Hot afternoons and rain last weekend kept me from finishing the project faster.

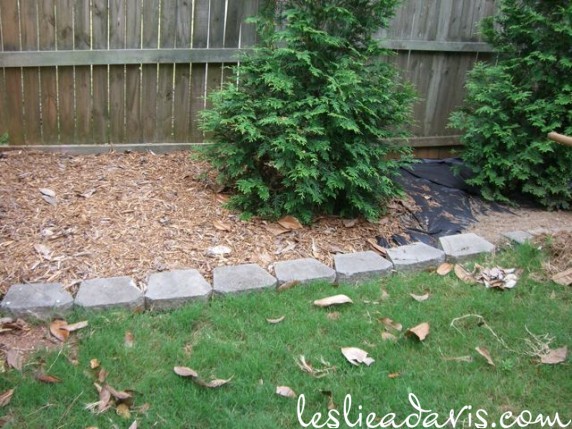
First I decided to dig a little trench from the patio to the retaining wall and repurpose some of the retaining wall blocks that were doing nothing to keep the edge of the patio from caving to give the transition from grass to mulched bed some definition.

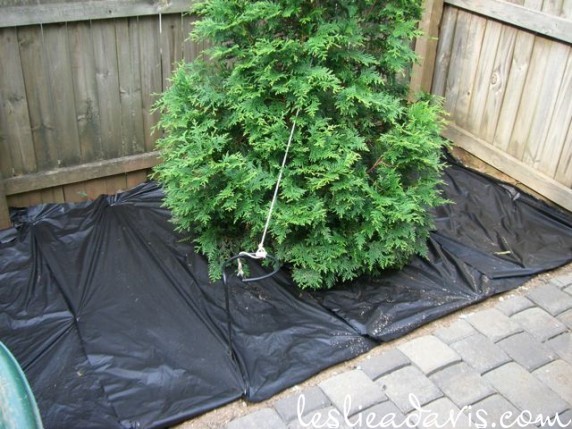
 I ended up buying five bags of stones to build up against the edge of the patio and then filled that in with six bags of topsoil to gradually grade the bed down from the patio for drainage.  I guess I’m just keeping my fingers crossed that I packed it in tight enough for it to hold everything up, including the pavers on the edge of the patio.  After I got the grading finished, I staked down some weed-blocking fabric.  We haven’t had too many weeds popping up here, except that the crape myrtles we cut down still send up a few springs every year.

I bought a soaker hose to put in this bed because the Thuja pictured above decided to fall over one day last fall after being in the ground for two years.  I have it staked upright, and thought if I could start watering it deeply, maybe it will grow deeper roots.  Once the soaker hose was in place, I put the cypress mulch back down, adding a few bags to freshen everything up.  Next on the yard agenda is replacing the fence!

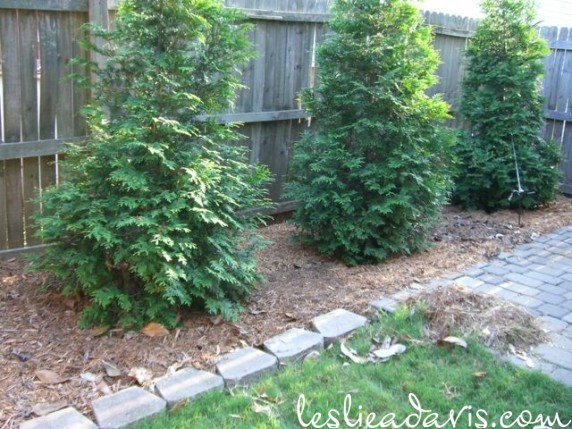
And for comparison, here is what this bed looked
like when we first installed the Thuja Greens: